How To Create A Payments-Only Restaurant
1. Introduction
This document serves as a detailed guide for creating a new Payments-Only Restaurant within the EatMe Global Admin Panel.
2. Getting Started
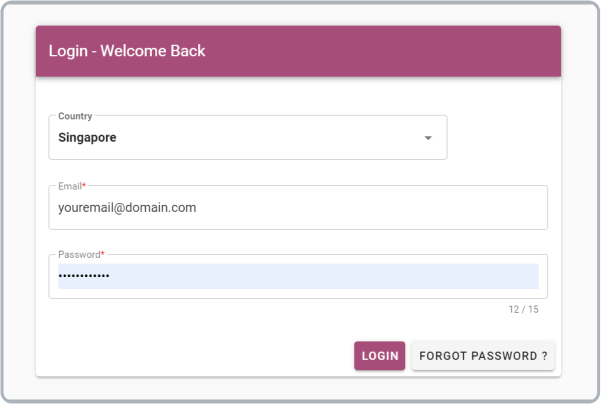
To begin, navigate to the Admin Panel website and authenticate using your authorized email address and password.
3. Adding a Payments-Only Restaurant
Note: Certain fields are non-essential and can be disregarded as outlined in this guide.
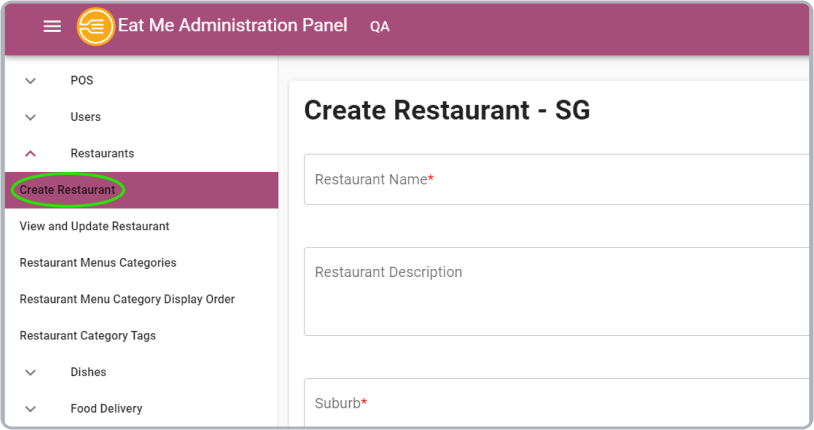
After successfully logging in, you will be redirected to the Admin Panel. To create a new restaurant, follow these steps:
- Click the hamburger menu on the left side of the screen.
- From the dropdown, select Restaurants.
- Click on Create Restaurant sub-item to begin the process.
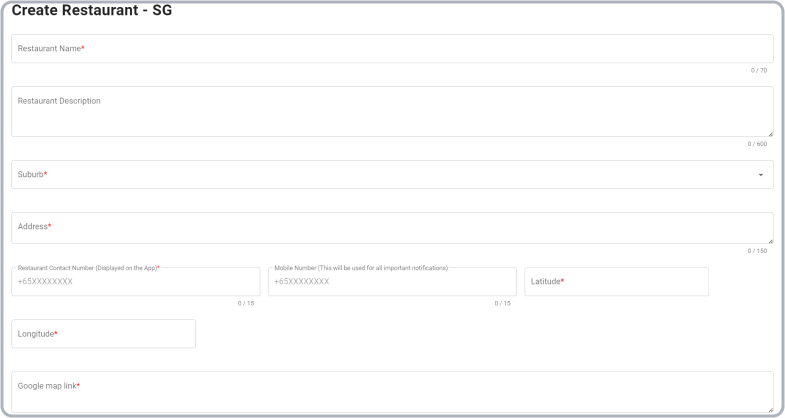
3.1 Restaurant Details
Populate the following fields with the appropriate restaurant information:
- Restaurant Name
- Suburb
- Address
- Contact Number
- Mobile Number
- Latitude & Longitude
- Google Map Link
For latitude and longitude extraction:
- Locate the restaurant on Google Maps.
- Copy the page URL and extract the latitude and longitude values as demonstrated below.
- Example URL:
https://www.google.com/maps/place/Champion+Hotel/@1.3142633,103.8981148,17.14z/data=!3m1!5s0x31da1810de257e55:0xb672453c5681d682!4m15!1m5!3m4!2zMcKwMTknMDAuOCJOIDEwM8KwNTQnMDEuNyJF!8m2!3d1.3168913!4d103.9004756!3m8!1s0x31da1810de3b7785:0xf27e433cae335ed0!5m2!4m1!1i2!8m2!3d1.3147698!4d103.8983936!16s%2Fg%2F11b6b0tj9y?entry=ttu - The highlighted sections correspond to Latitude = 1.3168913 and Longitude = 103.9004756. Extract these values accordingly.
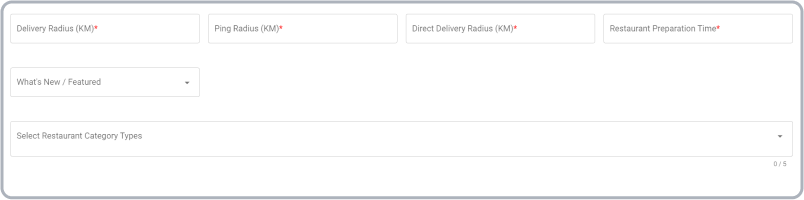
3.2 Configure Parameters
Configure the following parameters:
- Delivery Radius (KM) - Default: 10
- Ping Radius (KM) - Default: 5
- Direct Delivery Radius (KM) - Default: 10
- Restaurant Preparation Time (Min) - Default: 25
Note: The fields What's New/Featured and Restaurant Category are optional and can be skipped.
Additional details:
- Delivery Radius defines the maximum range for restaurant deliveries.
- Ping Radius is the distance covered around a pinned location, forming a circular area.
- Direct Delivery Radius specifies the range within which the restaurant delivers using its own logistics.
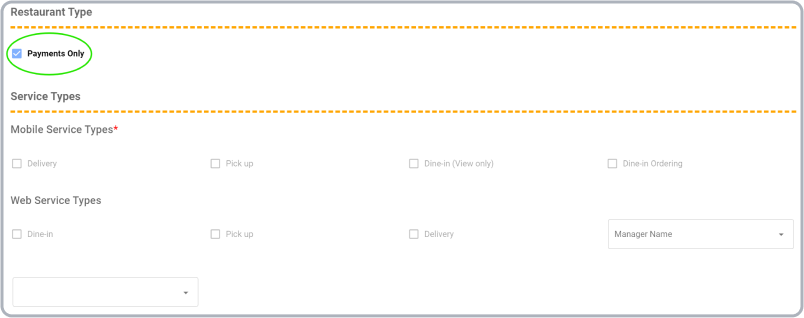
3.3 Restaurant Type
Select the Payments Only option. This will automatically disable the Service Types section, as it is irrelevant for this configuration.
3.4 Service Types
In most cases, the Service Types section is disabled when Payments Only is selected. However, if applicable, enable the following options based on the restaurant's requirements:
For Mobile Service Types:
- Delivery
- Pick Up
- Dine-in
For Web Service Types:
- Dine-in and Pick Up
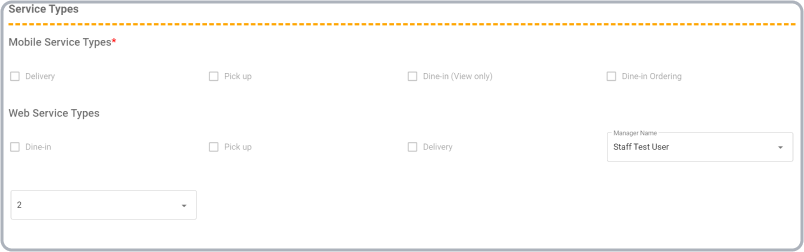
3.5 Sales Team Information
- Select the Manager Name to the restaurant Sales Manager’s name.
- Select the Restaurant Category to the default value - Default: 2
Note: This section must be selected even if the "Payments Only" option is checked and "Service Types" is disabled. There may be bugs where the manager and category are set to "undefined," so ensure to update this information after creating the restaurant.

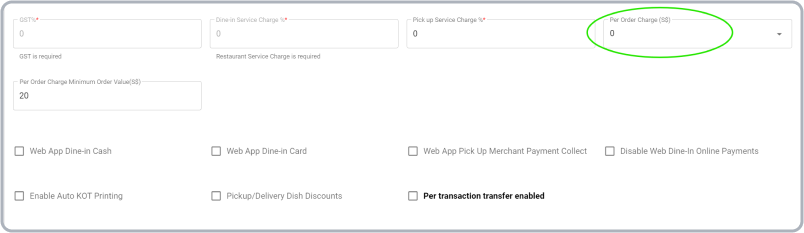
3.6 Tax and Payment Types
In the Tax and Payment Types section:
- Set Pickup Service Charge and Per Order Charge to zero (0).
- Leave the Web App Payment Types checkboxes unchecked, as they are unnecessary.
Note: The GST, Per Order Minimum Charge, and Dine-in Service Charges are predefined and cannot be altered.
3.7 Wallet Types
This section pertains to digital wallet payment methods. No options need to be enabled, all should remain in their default (off) state.

3.8 Pickup Web Link Options & Delivery Web Link Options
These sections do not require any modifications, leave all options at their default setting (No).

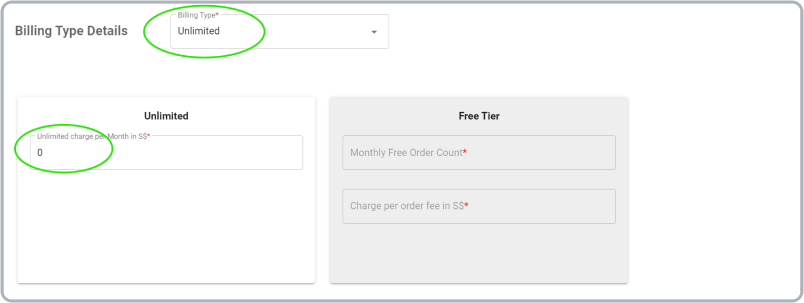
3.9 Billing Type Details
- Set the Billing Type to Unlimited and configure the Unlimited Charge Per Month to zero (0).
Note: The Free Tier billing type is currently not in use.
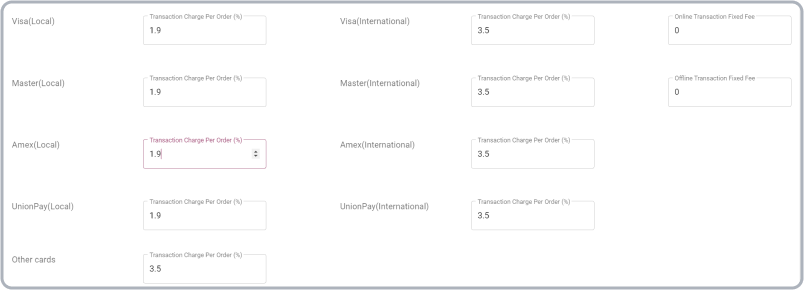
3.10 Transaction Charges
- Set the values for Local Cards, International Cards, and Other Cards charges. Usually, the Other Cards charges are equal to the International Cards charges, these values are determined according to the client's agreement.
Note: The Online and Offline transaction fixed fees are also determined by the agreement.
3.11 Business Details
- Fill in the business-specific details provided by the client. These are critical fields, including the Registered PVS/UEN (business identification number).

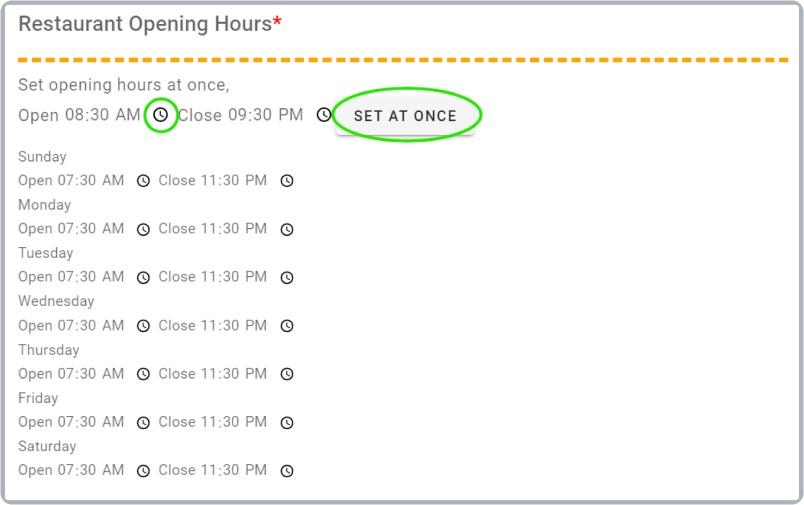
3.12 Restaurant Opening Hours
- Set the restaurant's active hours, which will be displayed on the website. Use the clock icon or manually enter the time.
- Use the Set At Once button to apply the same opening and closing times across all days if necessary.
Note: Timing can be customized for individual days if necessary.
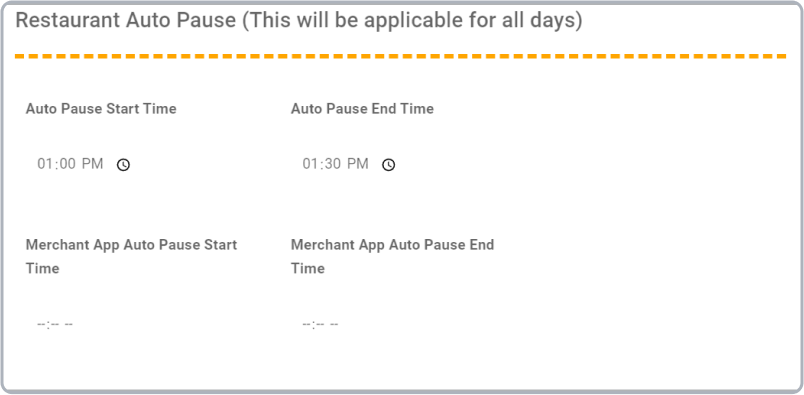
3.13 Restaurant Auto Pause
- Configure the Auto Pause feature to specify the restaurant's inactive hours (e.g., lunch breaks).
- Set the start and end times using the clock icon or by entering the time manually. This can be applied to both the website and the merchant app individually.
Note: This feature is useful for restaurants that provide delivery and pickup services and is applicable to all days, and this is set according to the requirements.
3.14 Cuisine Types and Diet Types
Note: This section is optional and can be left in its default state.

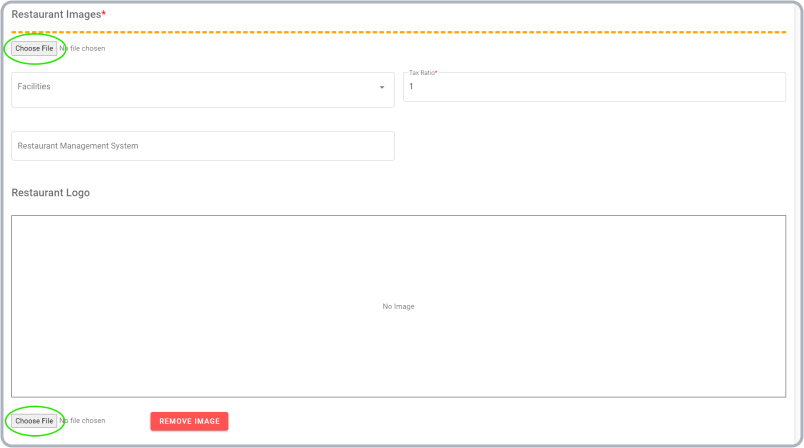
3.15 Restaurant Images
- Upload an image of the restaurant, either provided by the client or sourced online.
- The Tax Ratio is fixed and cannot be changed.
- The Facilities and Restaurant Management System Link fields are optional and can remain in their default state.
- Upload the restaurant's logo, either provided by the client or sourced online. If the logo cannot be sourced online, upload a blank image as a placeholder.
3.16 Receipt Details
Note: This section is optional and can be left in its default state.
4. Final Step
- Ensure all required fields are populated, then click the Add button at the bottom of the receipt details section to finalize the creation of the restaurant.
Note: If the Add button is disabled, please review the form and ensure all required fields are filled out correctly.