How To Create A POS Restaurant
1. Introduction
This document serves as a detailed guide for creating a new POS Restaurant within the EatMe Global Admin Panel.
2. Getting Started
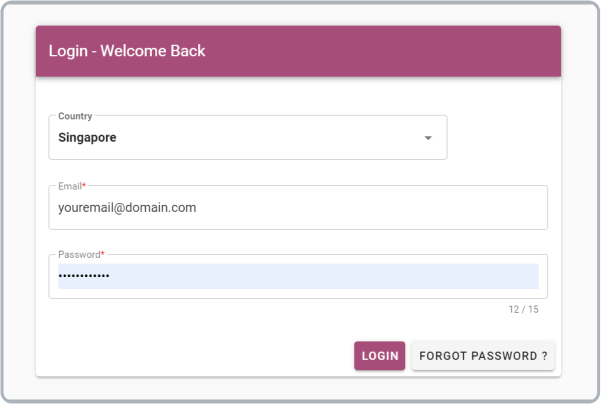
- To begin, access the Admin Panel website and authenticate using your authorized email and password, as depicted below.
3. Adding a POS Restaurant
- Upon successful authentication, you will be redirected to the Admin Panel interface.
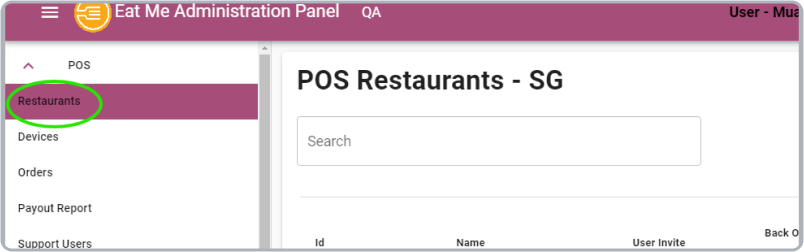
- To initiate the creation of a POS restaurant, navigate to the POS dropdown within the left-hand side navigation menu and select Restaurants as shown below.
- Click on the Create Restaurant sub-item. A modal will appear, prompting you to input the necessary restaurant details.
3.1 Restaurant Details
-
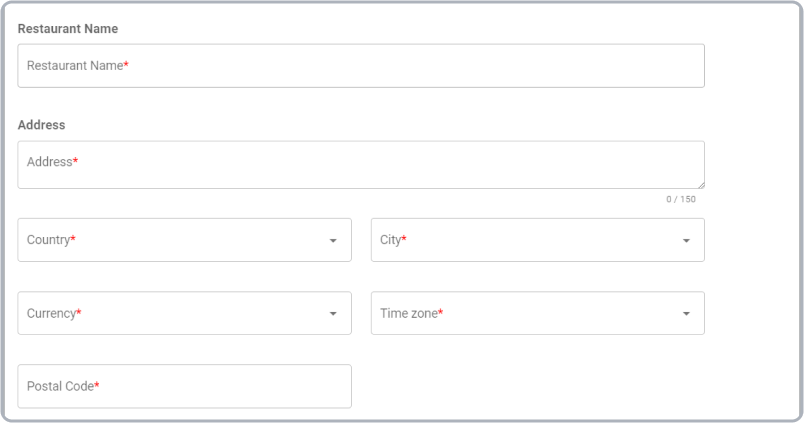
Within the modal, provide the following information:
- Restaurant Name
- Address
- Country
- City
- Currency
- Time Zone
- Postal Code
-
For more information:
- Follow the steps below to obtain the city using the postal code.
- Visit the following Website
- Then follow the guide mentioned at the website to obtain the details of the city.
-
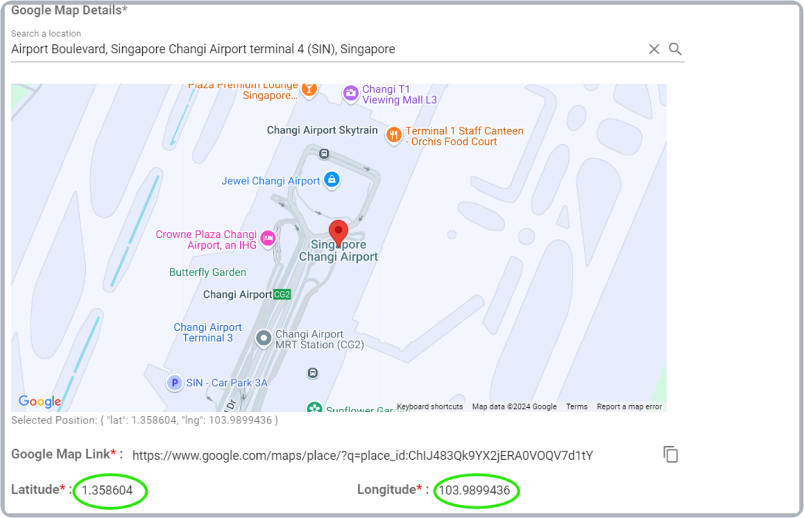
To set the restaurant's location:
- Use the map input field to search for the restaurant or enter its name to find the location. If the restaurant appears in the search results, the pin will be set automatically.
- If the restaurant does not appear in the search results, manually navigate on the map to locate it and then double-click the exact location to pin it.
- The Google Map Link, Latitude, and Longitude fields will be populated automatically.
-
Next, select the following details:
- Sales Manager's Name: The assigned Sales Manager's name.
- Restaurant Category: The default restaurant category - Default: 2

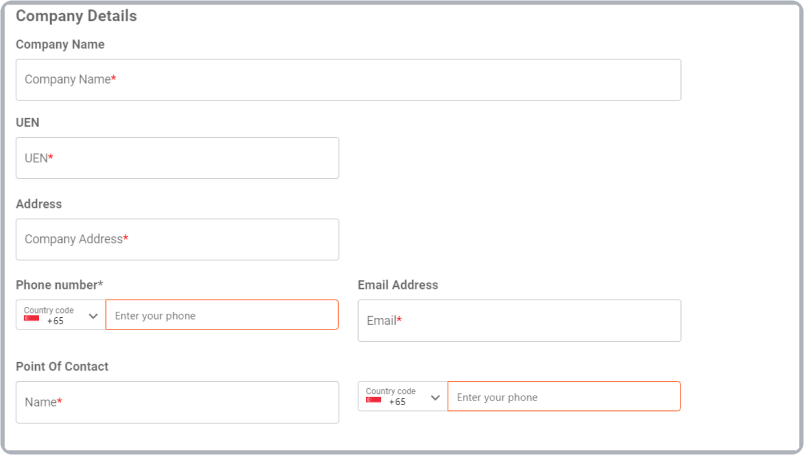
3.2 Company Details
-
Complete the company information by entering the following fields:
- Company Name
- UEN (Unique Entity Number): The identification number for the registered business.
- Address
- Phone Number
- Email Address
- Point of Contact: Name of the individual responsible for business-related matters.
- Contact Number: Phone number of the point of contact.
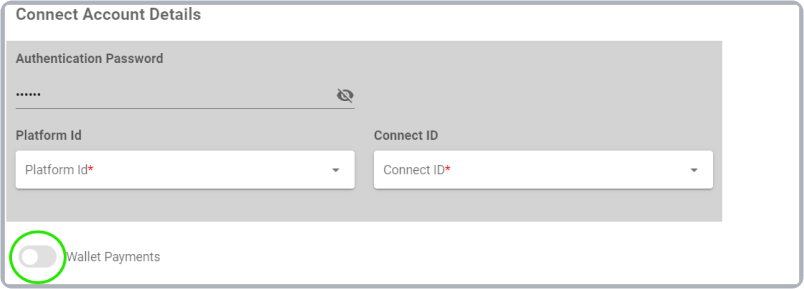
3.3 Connect Account Details
-
To configure the Connect Account:
- Enter the authorized authentication password provided by EatMe Global.
- Once the platform ID field is enabled, select EatMe Platform Id.
- Then select the Connect ID that ends with "XshBpq" on production.
Note: Ensure the wallet payments option remains disabled.
3.4 Restaurant Logo & Agreement
-
Restaurant Logo: If the client hasn’t provided a logo, search online and upload it. Ensure the logo is resized to 1024 x 1024 pixels, with an aspect ratio of 1:1, and does not exceed 2 MB. If the logo cannot be sourced online, upload a blank image as a placeholder.
-
Agreement: Request the agreement from the sales department and upload the document. If the document isn't provided, upload a blank PDF document as a placeholder.
-
To upload the agreement document:
- Click on the paperclip icon.
- Select the file.
- Click the UPLOAD PDF button.
![]()
4. Final Step
- After all required details are entered and verified, the Create button will be enabled to finalize the restaurant creation process.
Note: If the Create button is disabled, please review the form and ensure all required fields are filled out correctly.